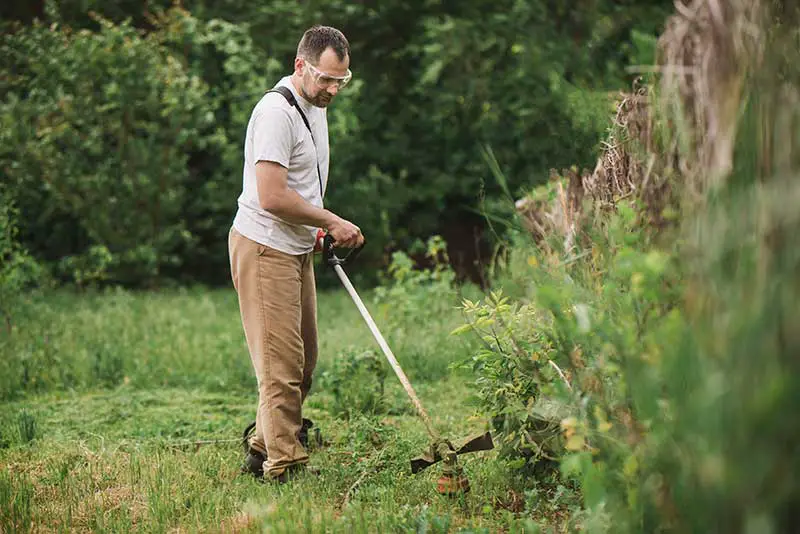
To start a weed eater with a drill, insert the drill bit into the starting shaft, hold the weed eater securely, and turn the drill slowly, increasing speed until the engine starts. Exercise caution, as this method may cause damage and void the warranty.
Understanding the Drill Starting Method for Weed Eaters
The drill starting method is a technique used by some individuals to start their weed eaters without the conventional pull-start mechanism. This method involves using a cordless drill to turn the engine over, allowing it to start more quickly and with less effort than pulling the starter cord.
Note: The drill starting method is not recommended by weed eater manufacturers and may void your warranty. Attempt this method at your own risk.
Advantages of Drill Starting
- Reduced physical effort
- Quicker start-up time
- Can be helpful for individuals with limited arm strength or mobility
Disadvantages of Drill Starting
- Potential damage to the weed eater’s engine
- May void the manufacturer’s warranty
- Not recommended by manufacturers
Preparing Your Weed Eater and Drill for the Starting Process
Before attempting to start your weed eater with a drill, ensure that you have the necessary tools and materials.
- Cordless drill: A cordless drill with adjustable torque settings is required to safely start your weed eater.
- Drill bit: You will need a drill bit that fits the size of the weed eater’s starting shaft. The size may vary depending on the weed eater model.
- Safety gear: Wear safety glasses and gloves to protect yourself during the starting process.
Table: Drill Starting Preparation
| Item | Purpose |
|---|---|
| Cordless drill | To turn the weed eater’s engine over |
| Drill bit | To connect the drill to the weed eater’s starting shaft |
| Safety gear | To protect yourself during the starting process |
Ensure you have all the necessary tools and materials before starting.
Steps for Preparing Your Weed Eater and Drill
- Verify that your weed eater is in good working condition and that all safety features are engaged.
- Locate the starting shaft on the weed eater. This is typically where the pull cord would connect to the engine.
- Choose the appropriate drill bit that fits the starting shaft and attach it to your cordless drill.
- Set the torque setting on your drill to a low or medium level to avoid causing damage to the weed eater’s engine.
Step-by-Step Guide to Starting a Weed Eater with a Drill
Follow these steps to start your weed eater using a drill. Keep in mind that this method is not recommended by manufacturers and may void your warranty.
- Ensure the weed eater is on a stable surface and that the cutting head is not in contact with any objects.
- Engage the choke and prime the engine if required by your weed eater model.
- Insert the drill bit into the starting shaft of the weed eater.
- Hold the weed eater securely with one hand while gripping the drill with the other hand.
- Begin turning the drill slowly, gradually increasing the speed until the engine starts. Be prepared to release the drill quickly once the engine starts to avoid damaging the weed eater.
- Once the engine starts, remove the drill bit from the starting shaft and let the weed eater warm up before use.
Remember to exercise caution when using the drill starting method, as it may cause damage to your weed eater and void the warranty.
Tips for Safe and Effective Drill Starting of Weed Eaters
- Always wear safety gear such as gloves and safety glasses when starting your weed eater with a drill.
- Begin with a low torque setting on your drill and gradually increase the speed to avoid damaging the engine.
- Hold the weed eater securely to prevent it from moving while starting the engine.
- Be prepared to release the drill quickly once the engine starts to avoid damage.
- Check your weed eater’s owner’s manual for any specific instructions or warnings related to starting methods.
Table: Safety Tips for Drill Starting
| Tip | Purpose |
|---|---|
| Wear safety gear | To protect yourself during the starting process |
| Start with low torque | To prevent damage to the weed eater’s engine |
| Secure the weed eater | To ensure stability during the starting process |
| Release the drill quickly | To avoid damage once the engine starts |
| Consult owner’s manual | To follow any specific instructions or warnings |
Follow these tips to ensure a safe and effective drill starting experience.
Troubleshooting Common Drill Starting Issues in Weed Eaters
If you encounter any issues when starting your weed eater with a drill, consider the following troubleshooting tips:
- Verify that the drill bit is properly inserted into the starting shaft.
- Ensure the drill’s torque setting is not too low or too high, as this may prevent the engine from starting or cause damage.
- Check the weed eater for any loose or damaged components that may be preventing the engine from starting.
- If the engine still does not start, consider using the conventional pull-start method or consult a professional for assistance.
Remember that the drill starting method is not recommended by manufacturers and may void your warranty. Attempt this method at your own risk.
Pros and Cons of the Drill Starting Method for Weed Eaters
The drill starting method has both advantages and disadvantages. Here, we’ll discuss the pros and cons to help you decide if this method is suitable for you.
Pros
- Less physical effort: Using a drill to start your weed eater can require less physical effort compared to the traditional pull-start method, which can be beneficial for those with limited strength or mobility.
- Faster starting: In some cases, using a drill to start your weed eater may be faster than using the pull-start method.
- Convenience: If you already own a cordless drill, using it to start your weed eater can be a convenient alternative to the traditional pull-start method.
Cons
- Potential damage: The drill starting method can cause damage to your weed eater’s engine or starting mechanism if not performed correctly.
- Warranty concerns: Using a drill to start your weed eater may void the manufacturer’s warranty, as it is not a recommended starting method.
- Safety concerns: There’s a risk of injury if the drill is not used correctly or if proper safety precautions are not taken.
Table: Pros and Cons of the Drill Starting Method
| Pros | Cons |
|---|---|
| Less physical effort | Potential damage to weed eater |
| Faster starting | Warranty concerns |
| Convenience | Safety concerns |
Weigh the pros and cons before deciding whether to use the drill starting method for your weed eater.
Key Takeaways
- The drill starting method can be a convenient alternative to the traditional pull-start method but comes with potential risks.
- Ensure the weed eater and drill are properly prepared before attempting the drill starting method.
- Follow safety tips and troubleshooting advice to minimize the risk of injury or damage to your weed eater.
- Be aware that using a drill to start your weed eater may void the manufacturer’s warranty.
Conclusion
Starting a weed eater with a drill can be a convenient and efficient method for some users. However, it’s important to weigh the pros and cons, follow safety precautions, and be prepared to troubleshoot any issues that may arise. Keep in mind that this method is not recommended by manufacturers and may void your warranty.