To change the blade on a DeWalt miter saw, remove the blade guard, lock the blade, remove the blade bolt, replace the old blade with a new one, and reinstall the blade guard. Follow these steps to ensure safe and efficient blade replacement.
Changing the blade on a DeWalt miter saw is a crucial maintenance task to ensure precise and clean cuts. This step-by-step guide will walk you through the process of changing the blade on your DeWalt miter saw safely and efficiently.
Safety Precautions
Before starting the blade replacement process, follow these safety precautions:
- Disconnect power: Unplug the miter saw or remove the battery (for cordless models) to prevent accidental activation.
- Wear safety gear: Use safety gloves to protect your hands from potential injuries.
- Ensure a stable work surface: Place the miter saw on a flat surface to prevent it from moving during the blade replacement process.
Step-by-Step Guide to Changing the Blade
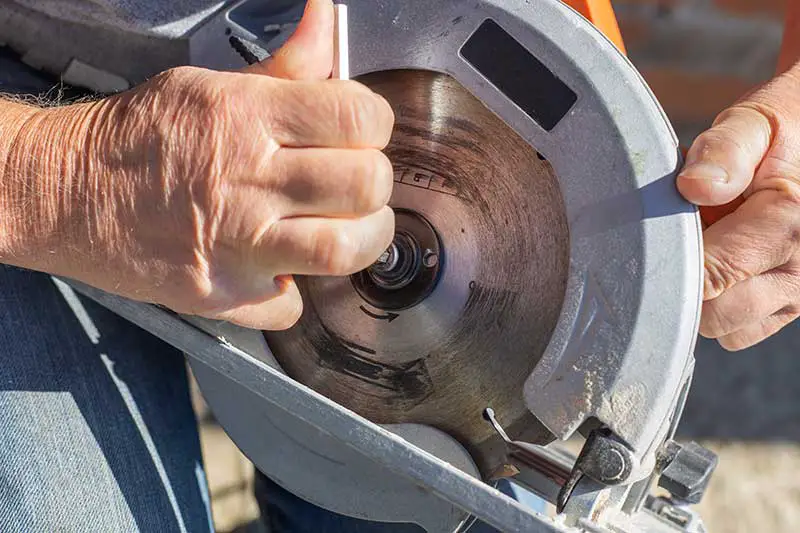
Step 1: Remove the Blade Guard
- Locate the screws securing the blade guard in place.
- Use a screwdriver or Allen wrench (depending on the screw type) to remove the screws and carefully set them aside.
- Gently lift the blade guard and slide it off the blade.
Step 2: Lock the Blade
- Press the spindle lock button, which is typically located near the blade housing or at the back of the saw.
- While holding the spindle lock button, rotate the blade until the spindle lock engages and the blade is unable to move.
Step 3: Remove the Blade Bolt
- Use the provided wrench or an appropriately-sized wrench to remove the blade bolt.
- Turn the wrench clockwise to loosen the bolt, as DeWalt miter saws usually have left-handed threads on the blade bolt.
- Remove the bolt and outer washer, and set them aside.
Step 4: Remove the Old Blade
- Hold the blade securely and carefully lift it off the spindle.
- Take note of the blade’s orientation for proper installation of the new blade.
Step 5: Install the New Blade
- Place the new blade onto the spindle, ensuring the teeth are pointing in the correct direction (refer to the arrow on the blade guard or the saw’s housing for the proper orientation).
- Replace the outer washer and blade bolt.
- While holding the spindle lock button, tighten the blade bolt by turning it counterclockwise.
Step 6: Reinstall the Blade Guard
- Slide the blade guard back into position.
- Reattach the screws to secure the blade guard in place.
| Step | Task |
|---|---|
| 1 | Remove the blade guard |
| 2 | Lock the blade |
| 3 | Remove the blade bolt |
| 4 | Remove the old blade |
| 5 | Install the new blade |
| 6 | Reinstall the blade guard |
This table summarizes the steps to change the blade on a DeWalt miter saw.
Additional Tips for Blade Replacement
When changing the blade on your DeWalt miter saw, keep these additional tips in mind:
Choose the Right Blade
When replacing the blade, make sure to choose the correct size and type of blade for your specific miter saw model and the materials you plan to cut.
Inspect the Saw
While changing the blade, take the opportunity to inspect the miter saw for any signs of wear, damage, or misalignment that may affect its performance.
Clean the Saw
Before installing the new blade, clean any dust or debris from the blade housing and other components to ensure smooth operation.
Conclusion
Changing the blade on a DeWalt miter saw is a straightforward process that involves removing the blade guard, locking the blade, removing the blade bolt, and installing the new blade. By following these steps, adhering to safety precautions, and considering additional tips for blade replacement, you can ensure precise cuts and maintain the performance of your miter saw.